Integrate Coding in Mathematics using Python, Jupyter Notebooks, and Google Colab
Agenda
For this session, here is the plan:
| Timing | Goals |
|---|---|
| 10 minutes | Introduction |
| 30 minutes | Try out some notebooks |
| 10 minutes | Pair, share, questions |
| 30 minutes | Begin authoring a notebook of your own |
| 10 minutes | Wrap-up |
Introduction
How can we meaningfully integrate coding into mathematics classes, and allow students to make their thinking visible?
From the MTH1W curriculum, regarding the selection of tools and strategies:
All students should be encouraged to select and use tools to illustrate mathematical ideas. Students come to understand that making their own representations is a powerful means of building understanding and of explaining their thinking to others. Using tools supports students as they:
- identify patterns and relationships;
- make connections between mathematical concepts and between concrete and abstract representations;
- test, revise, and confirm their reasoning;
- remember how they solved a problem;
- communicate their reasoning to others...
The combination of:
- the Python programming language
- the Jupyter notebooks file format
- the Google Colab environment
... allows students to share their approach to solving a problem and permits teachers to facilitate all of this with a minimum of fuss and bother.
In time, students come to see coding not just as something that is done in addition to mathematics but as a viable tool for exploring mathematical relationships and for problem-solving.
Building Blocks and License
For the the 2023-24 school year, a part of my role at Lakefield College School involved supporting my colleagues in the Mathematics department as they worked to meaningfully integrate coding into MTH1W.
I started by consulting the work of Grant Hutchison and the Association of Computer Studies Educators at the Coding Integration website.
Copyright for this post remains with me, Russell Gordon, but all of the Jupyter notebooks I will share, some of which are built upon work from the Coding Integration website, are published under the Creative Commons Attribution Non-Commercial Share-Alike 4.0 International license.
Practical Considerations
As a teacher I want use of a Jupyter notebook to be just as easy as distributing paper to and collecting that paper from my students. For students, use of the notebook should be as close to working on paper as possible, so as to reduce their cognitive load.
Using Google Drive to author and store Jupyter notebooks, Google Classroom to distribute and collect notebooks from students, and Google Colab to interact with a notebook, gets pretty close to the ease of working with paper.
Even without Classroom, you can create and work with Google Colab documents in Drive the same way you can with Sheets, Docs, or Slides documents:

Depending on your school or school district settings, in order to create Google Colab documents from the menu shown above, you may need to ask your IT administrator to enable this extension:

Even without this extension installed, it is still possible to duplicate existing Colab documents you have added to your Google Drive.
In fact, duplicating and editing existing Colab documents is my recommended approach to authoring an activity. More on this later in the session.
Of course, not every school or school district permits use of Google Workspace tools.
Python Notebooks can also be used within the Callysto environment, and stored within a GitHub repository. This requires more technical skills on the part of the teacher. The workflow for students to submit their work to you as the teacher will likely have a few more steps, as well.
Addressing the use of Jupyter Notebooks within Callysto and GitHub goes beyond the scope of this session.
Try Out a Notebook
Assuming that you have access to a Google account, either with a personal email address, or through your school or school board, jump in to the first Jupyter notebook that I authored for grade 9 students to work with:
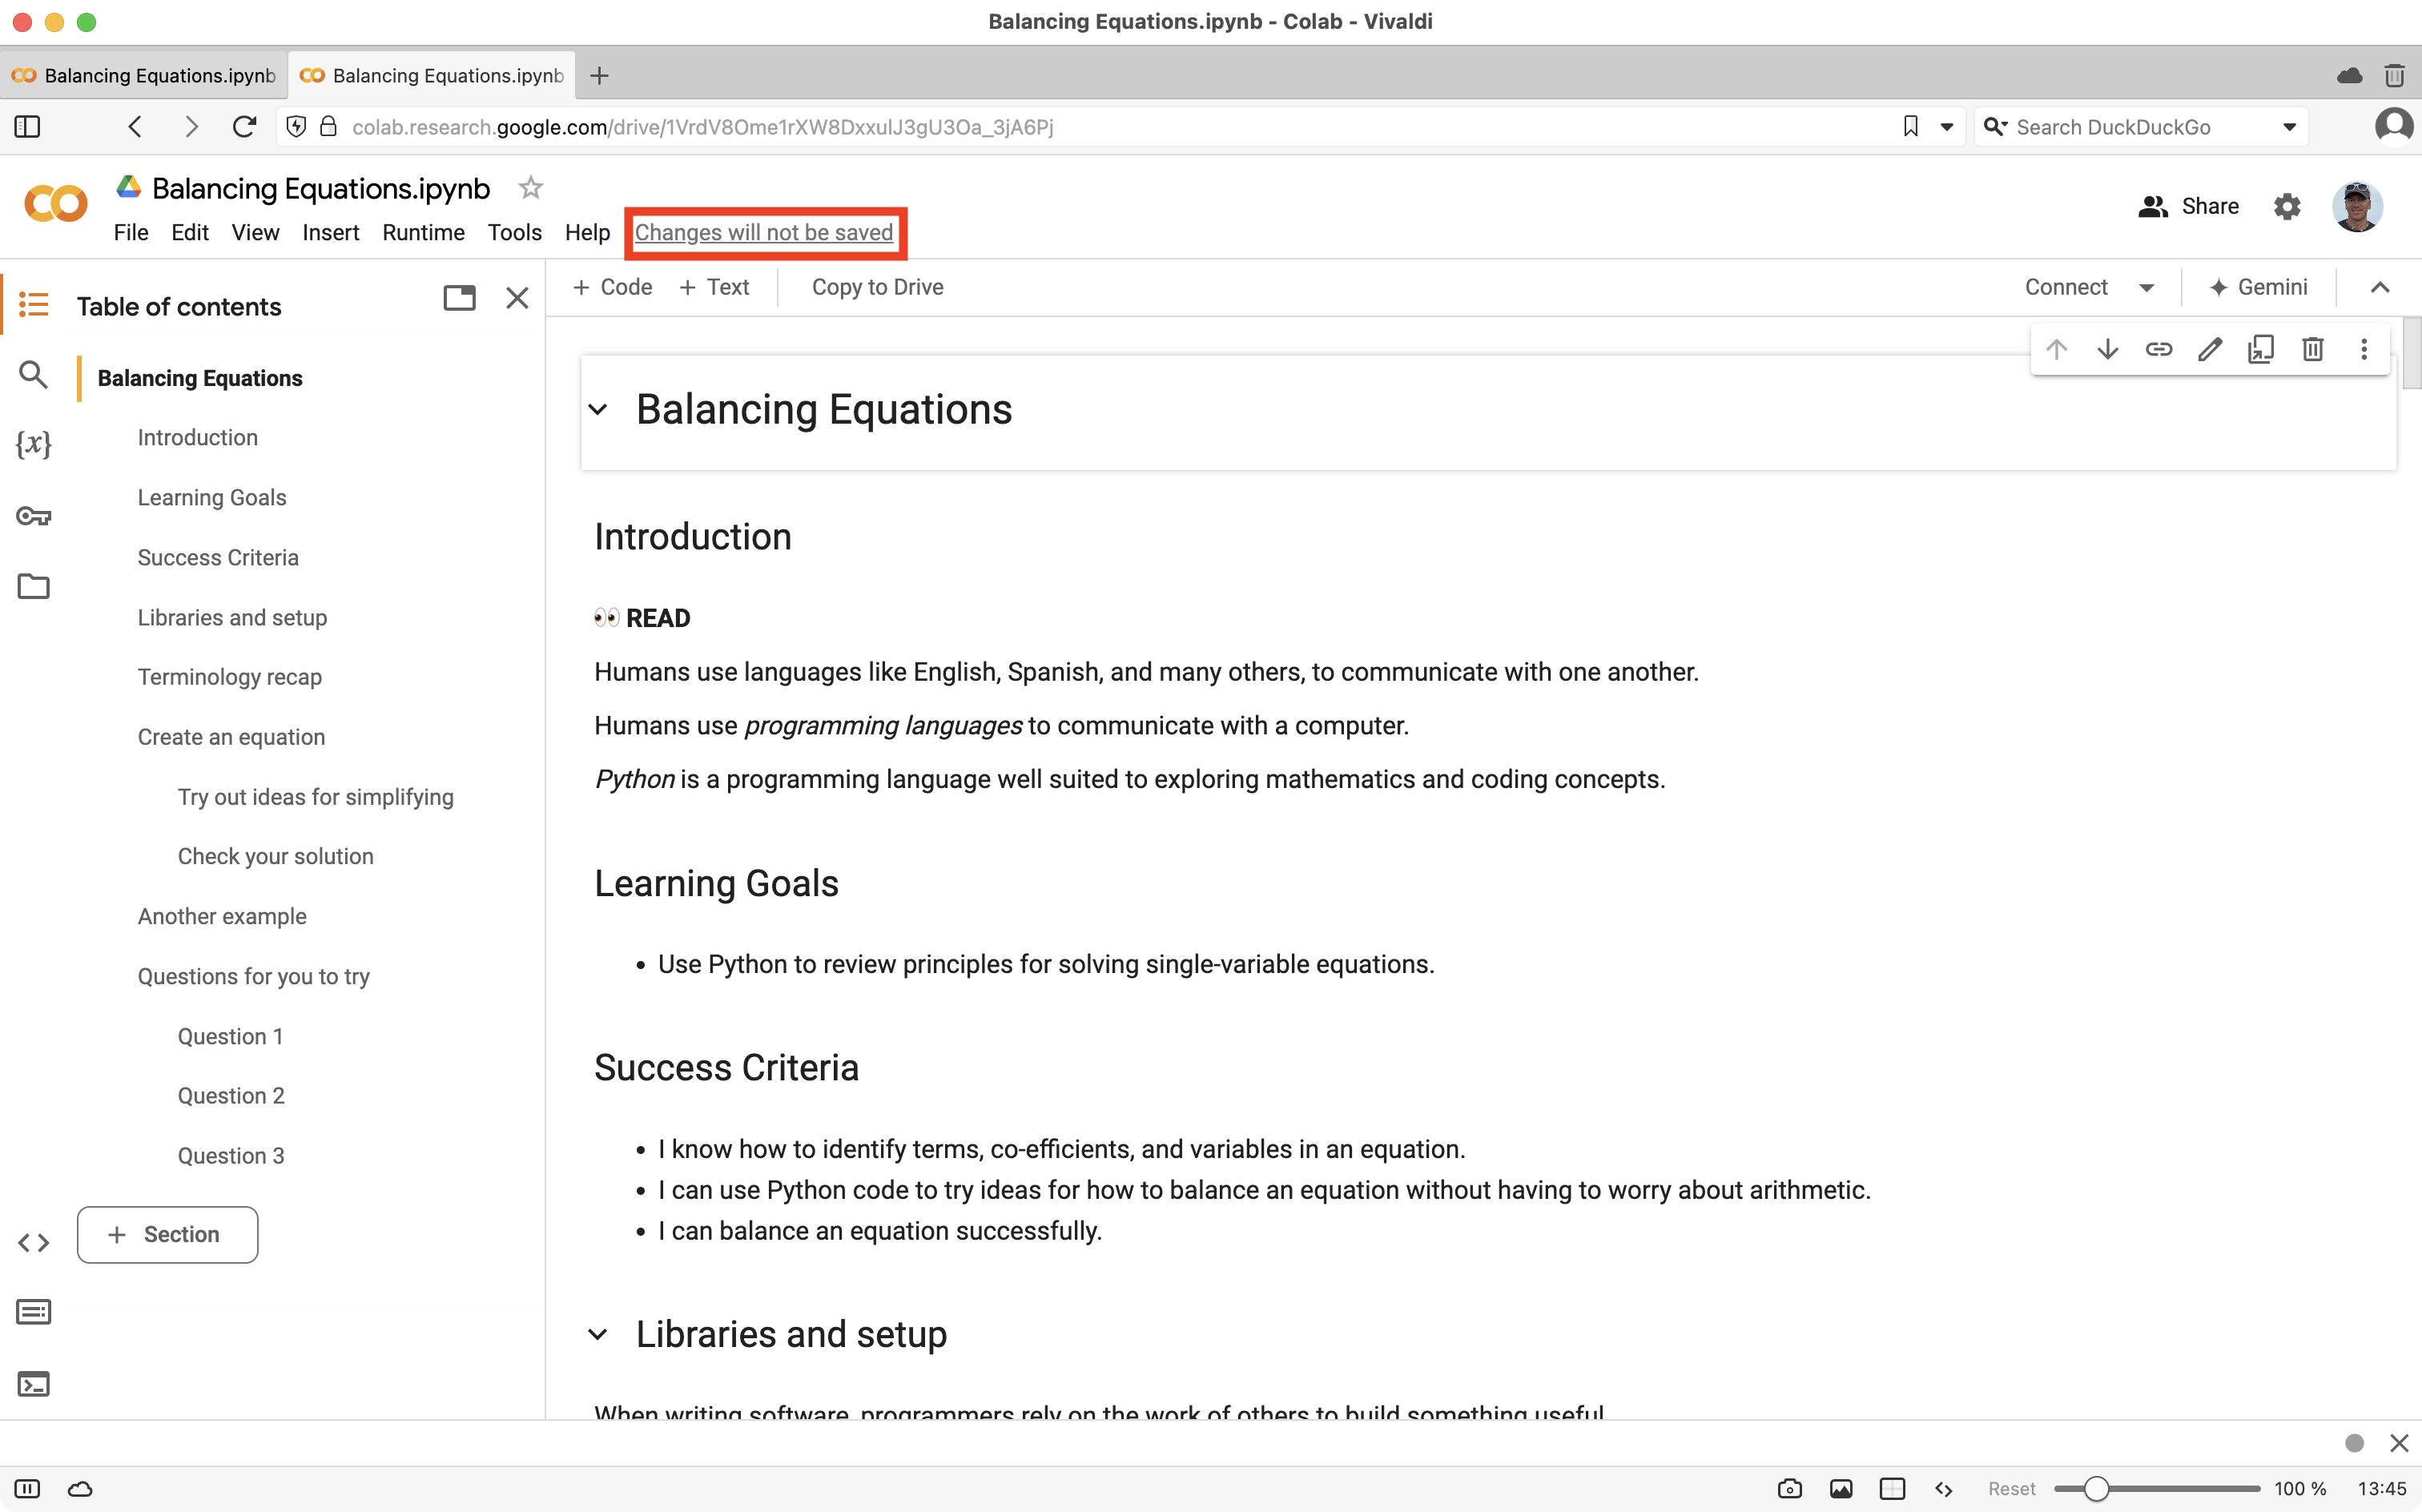
If you are not logged in to a Google account, after following that link, you will be able to view but not save changes to the notebook. Be sure to sign in:

After signing in to a Google account, click the Changes will not be saved link:
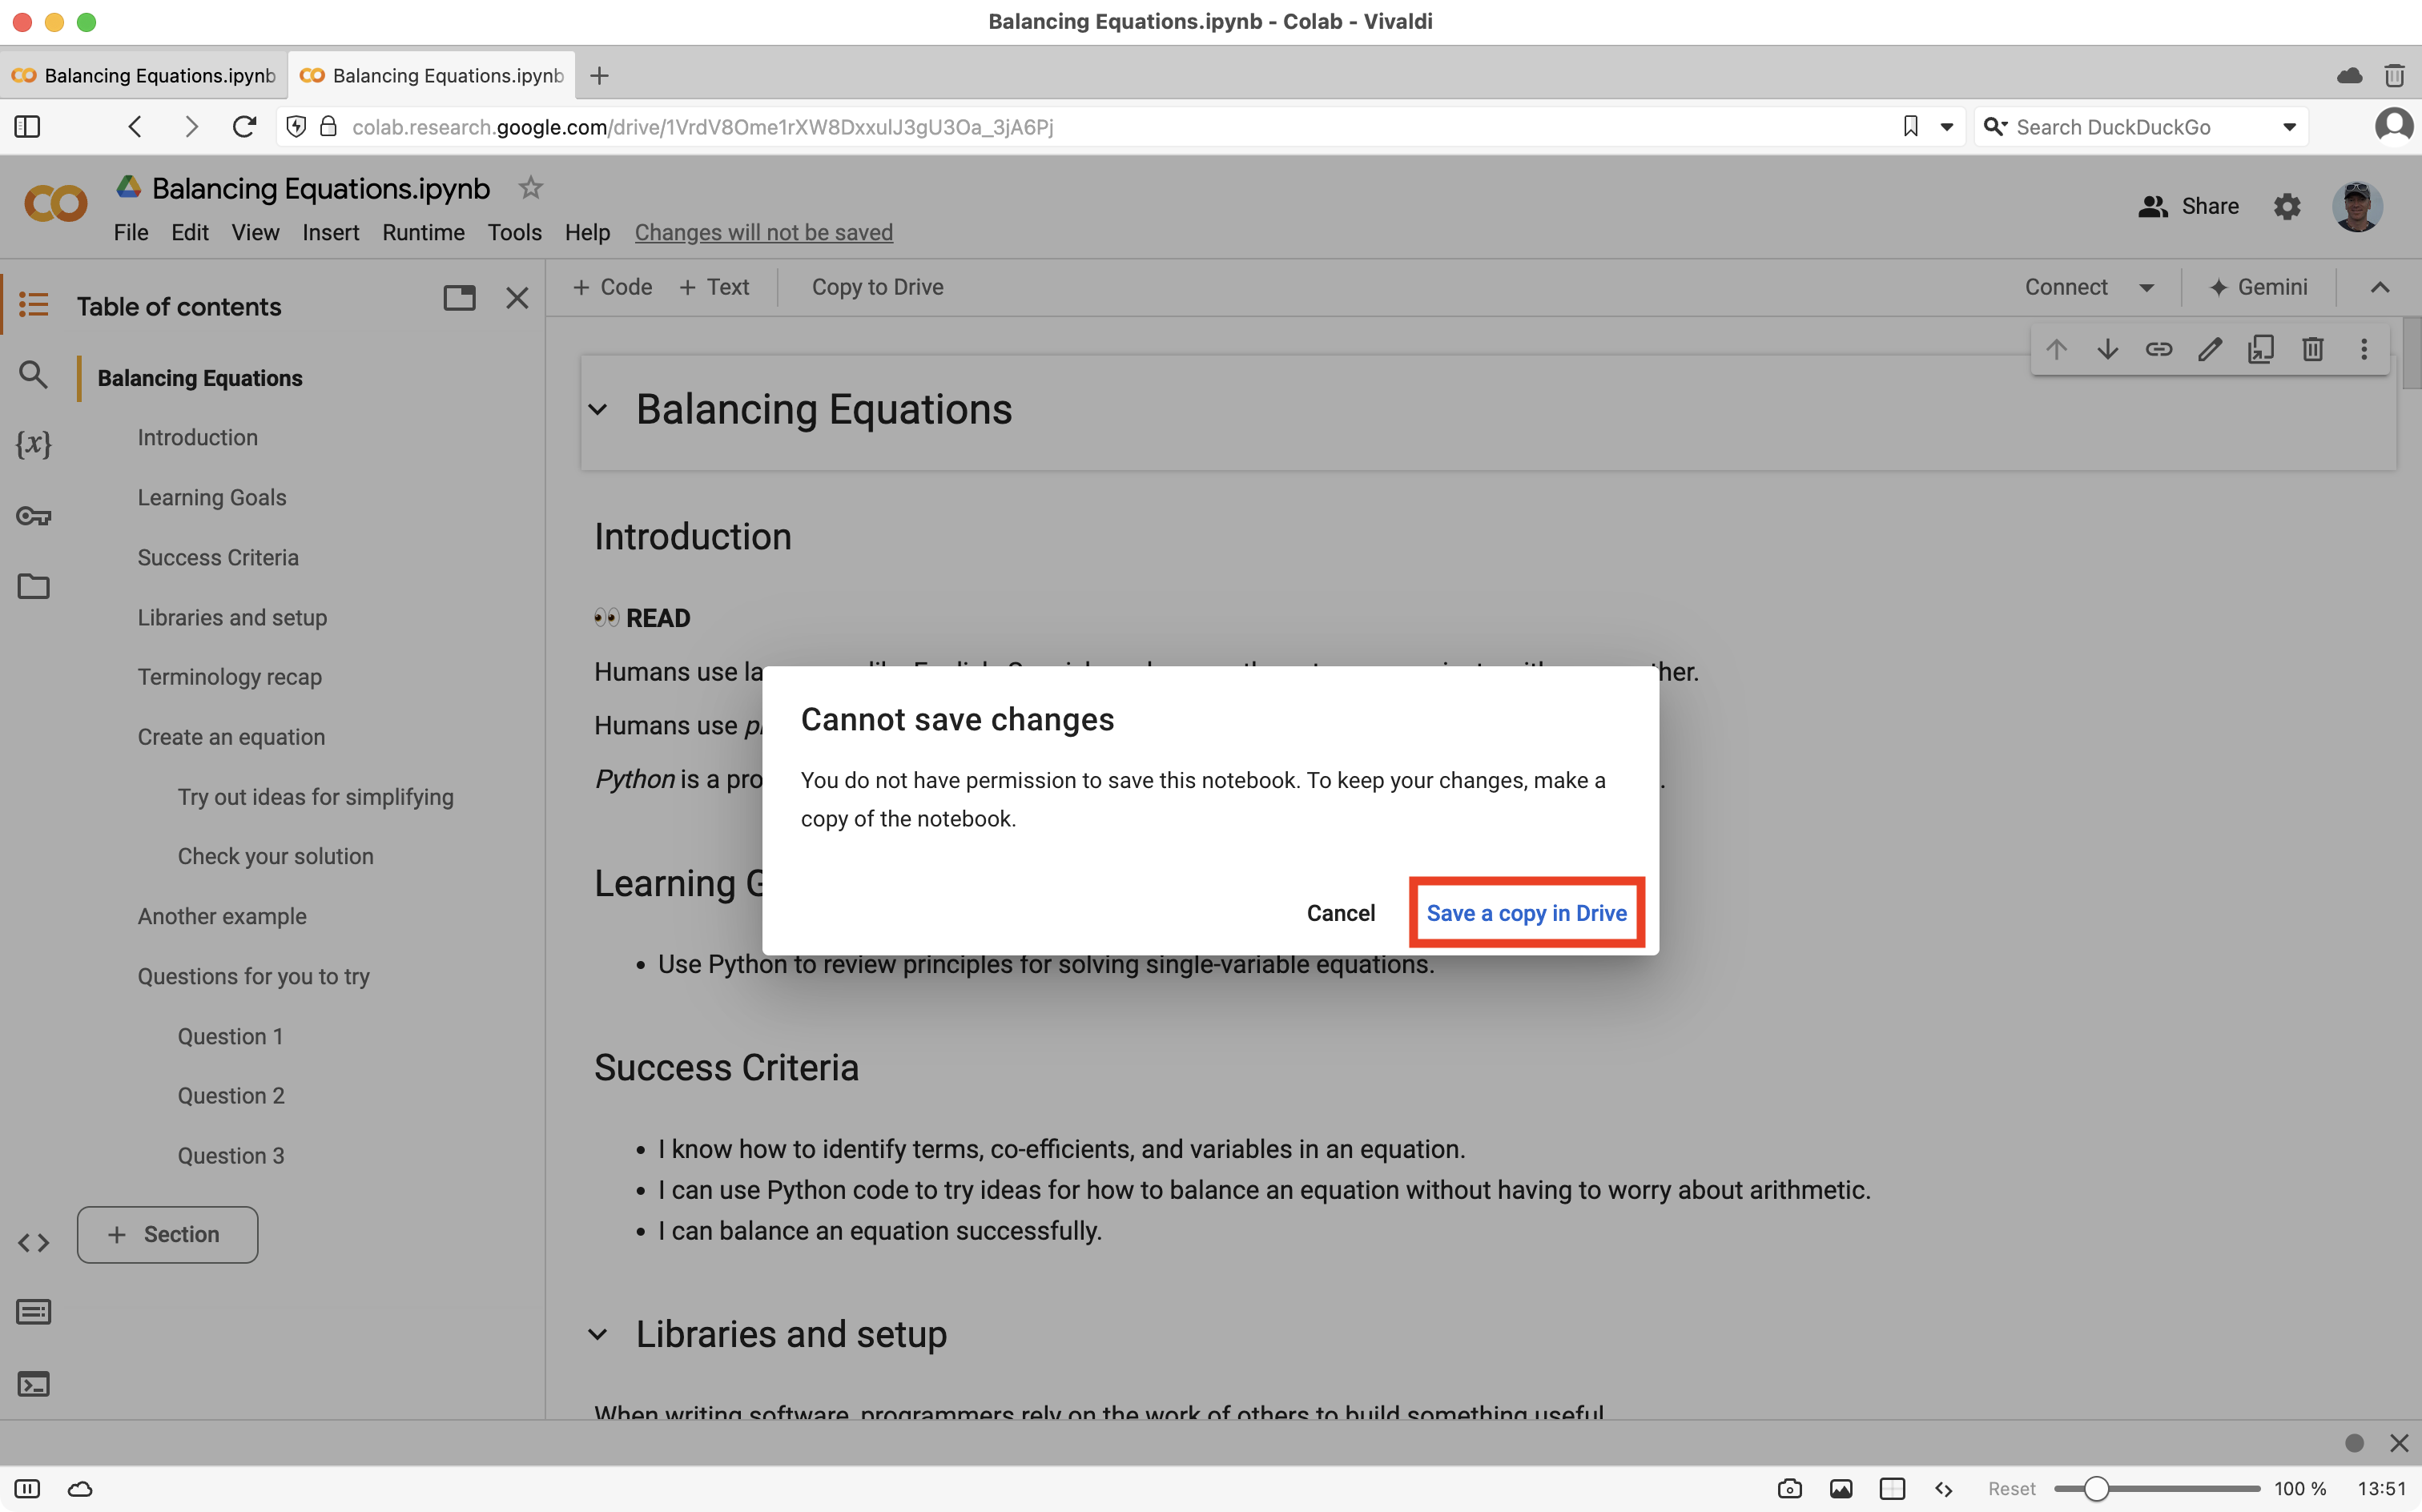
... then choose Save a copy in Drive:
You may see a note from the Google Colab team describing recent changes to the Colab environment – you can dismiss this:
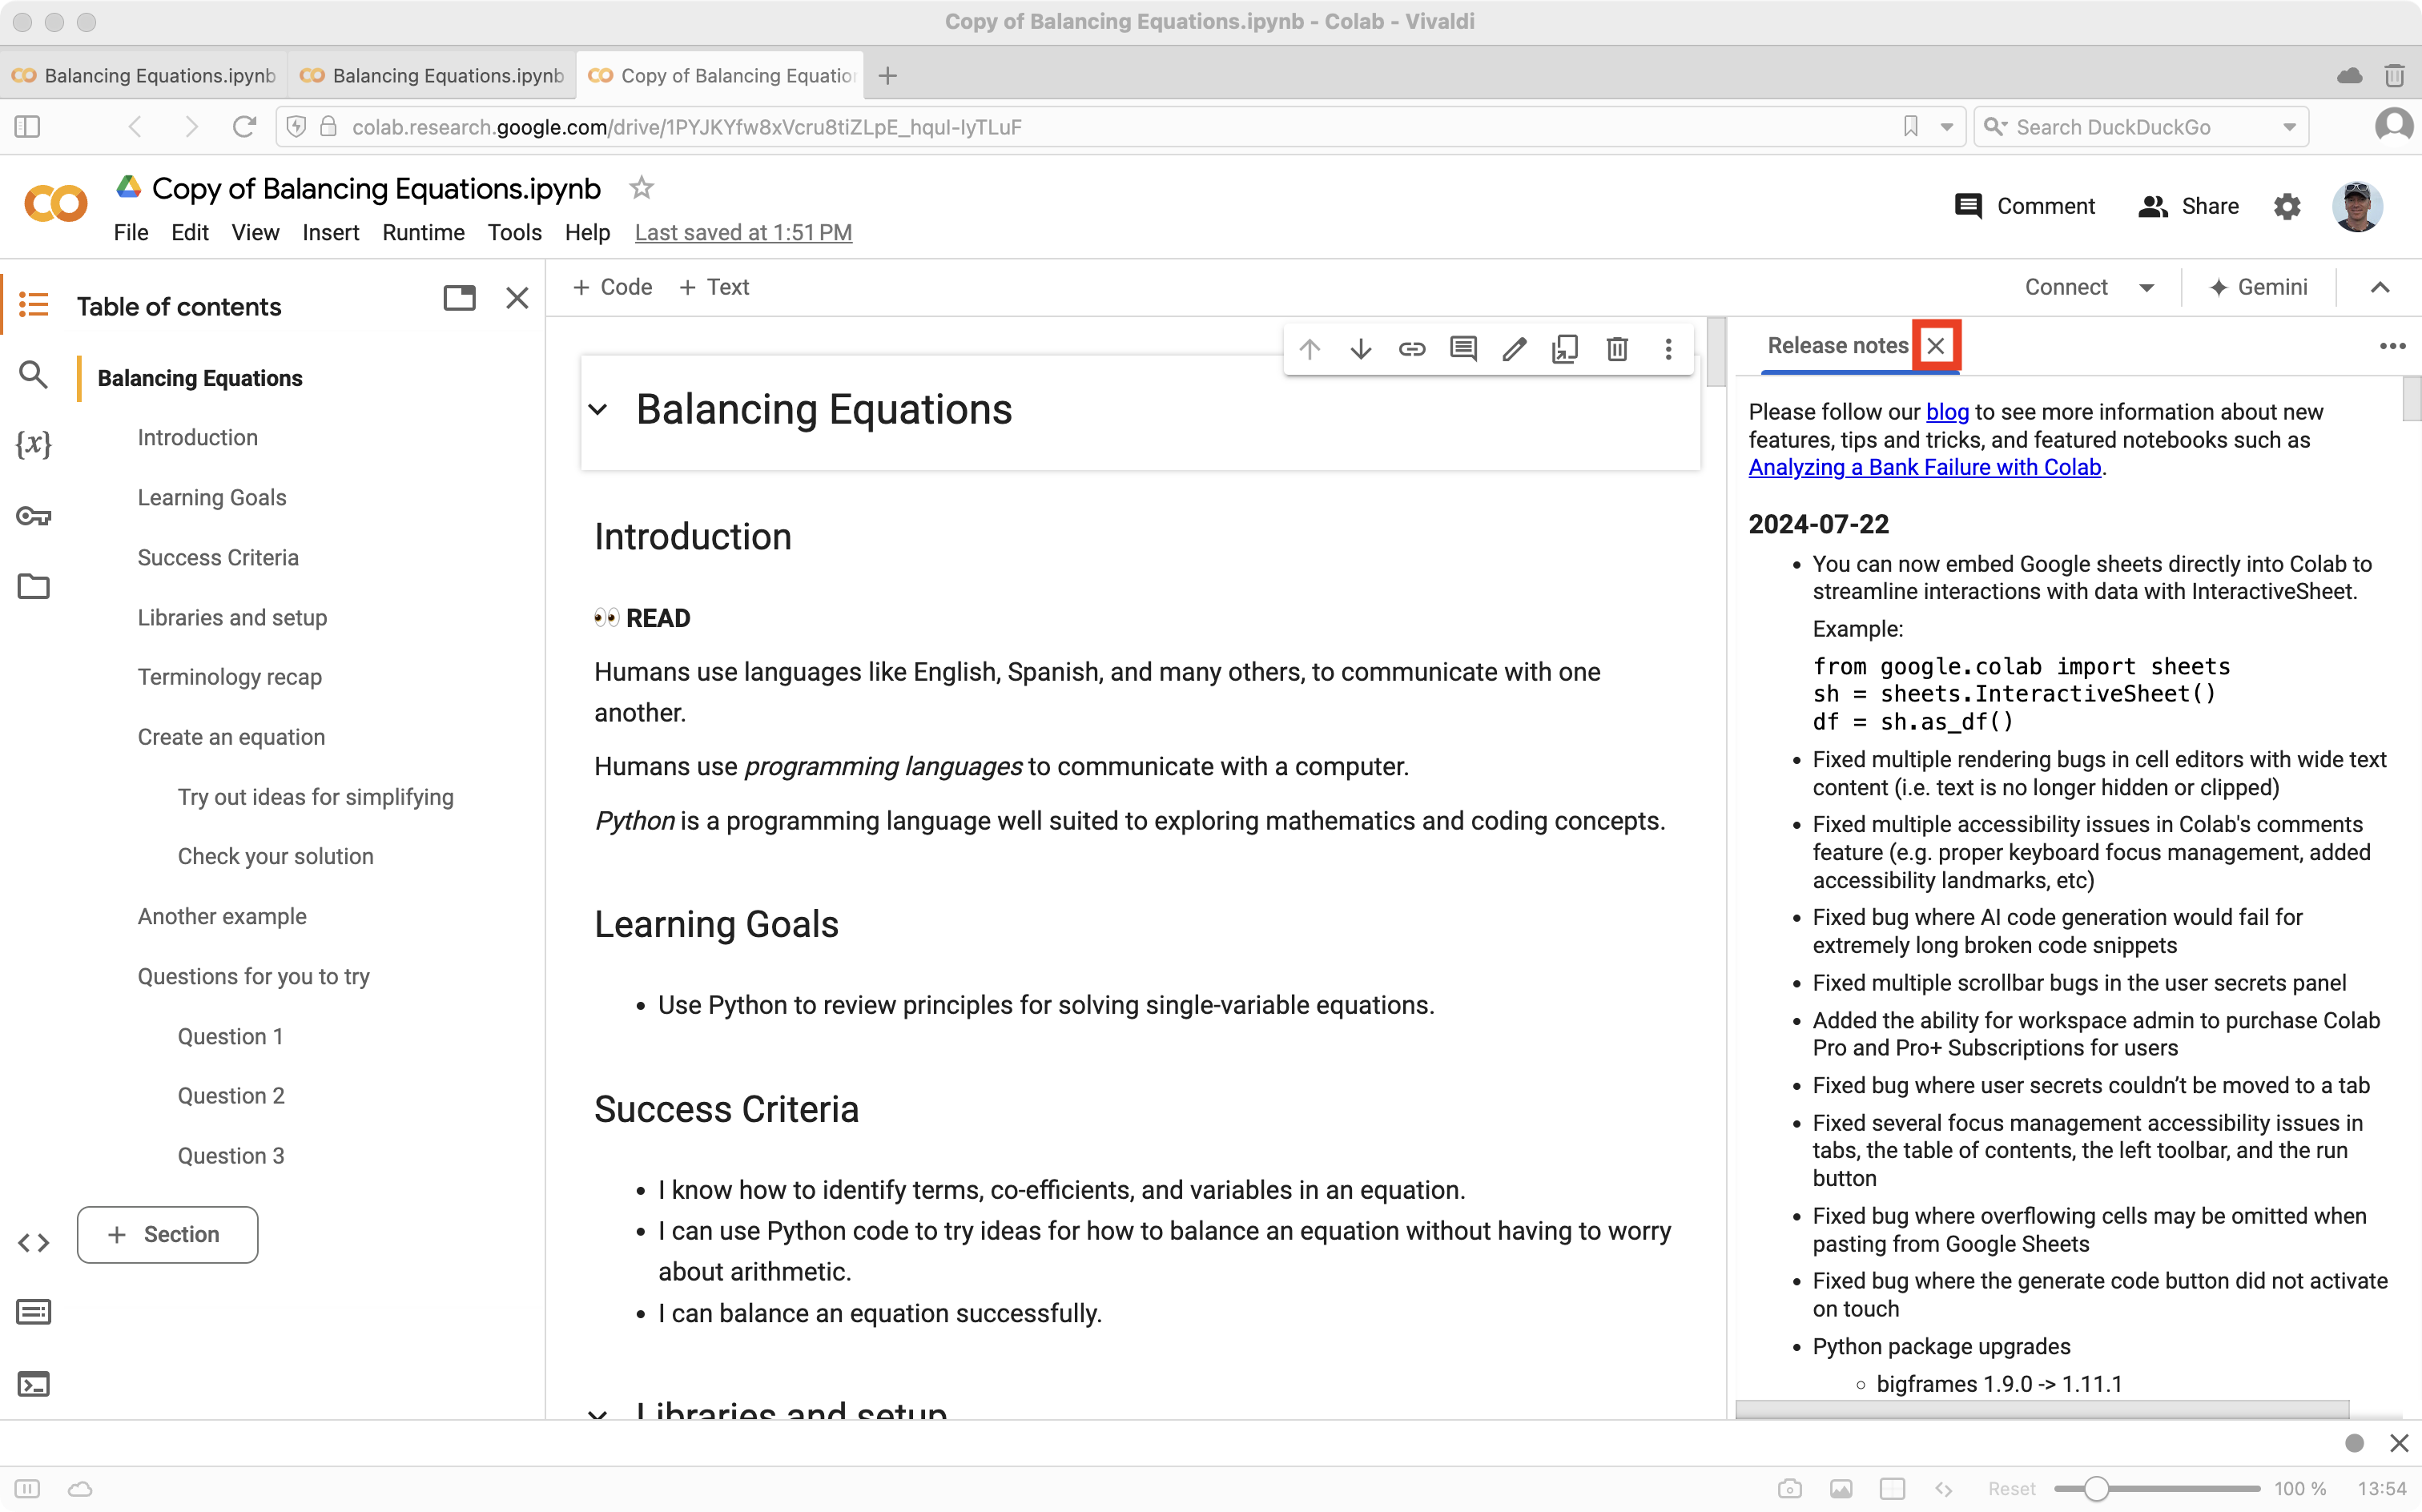
At this point you are ready to begin navigating the document.
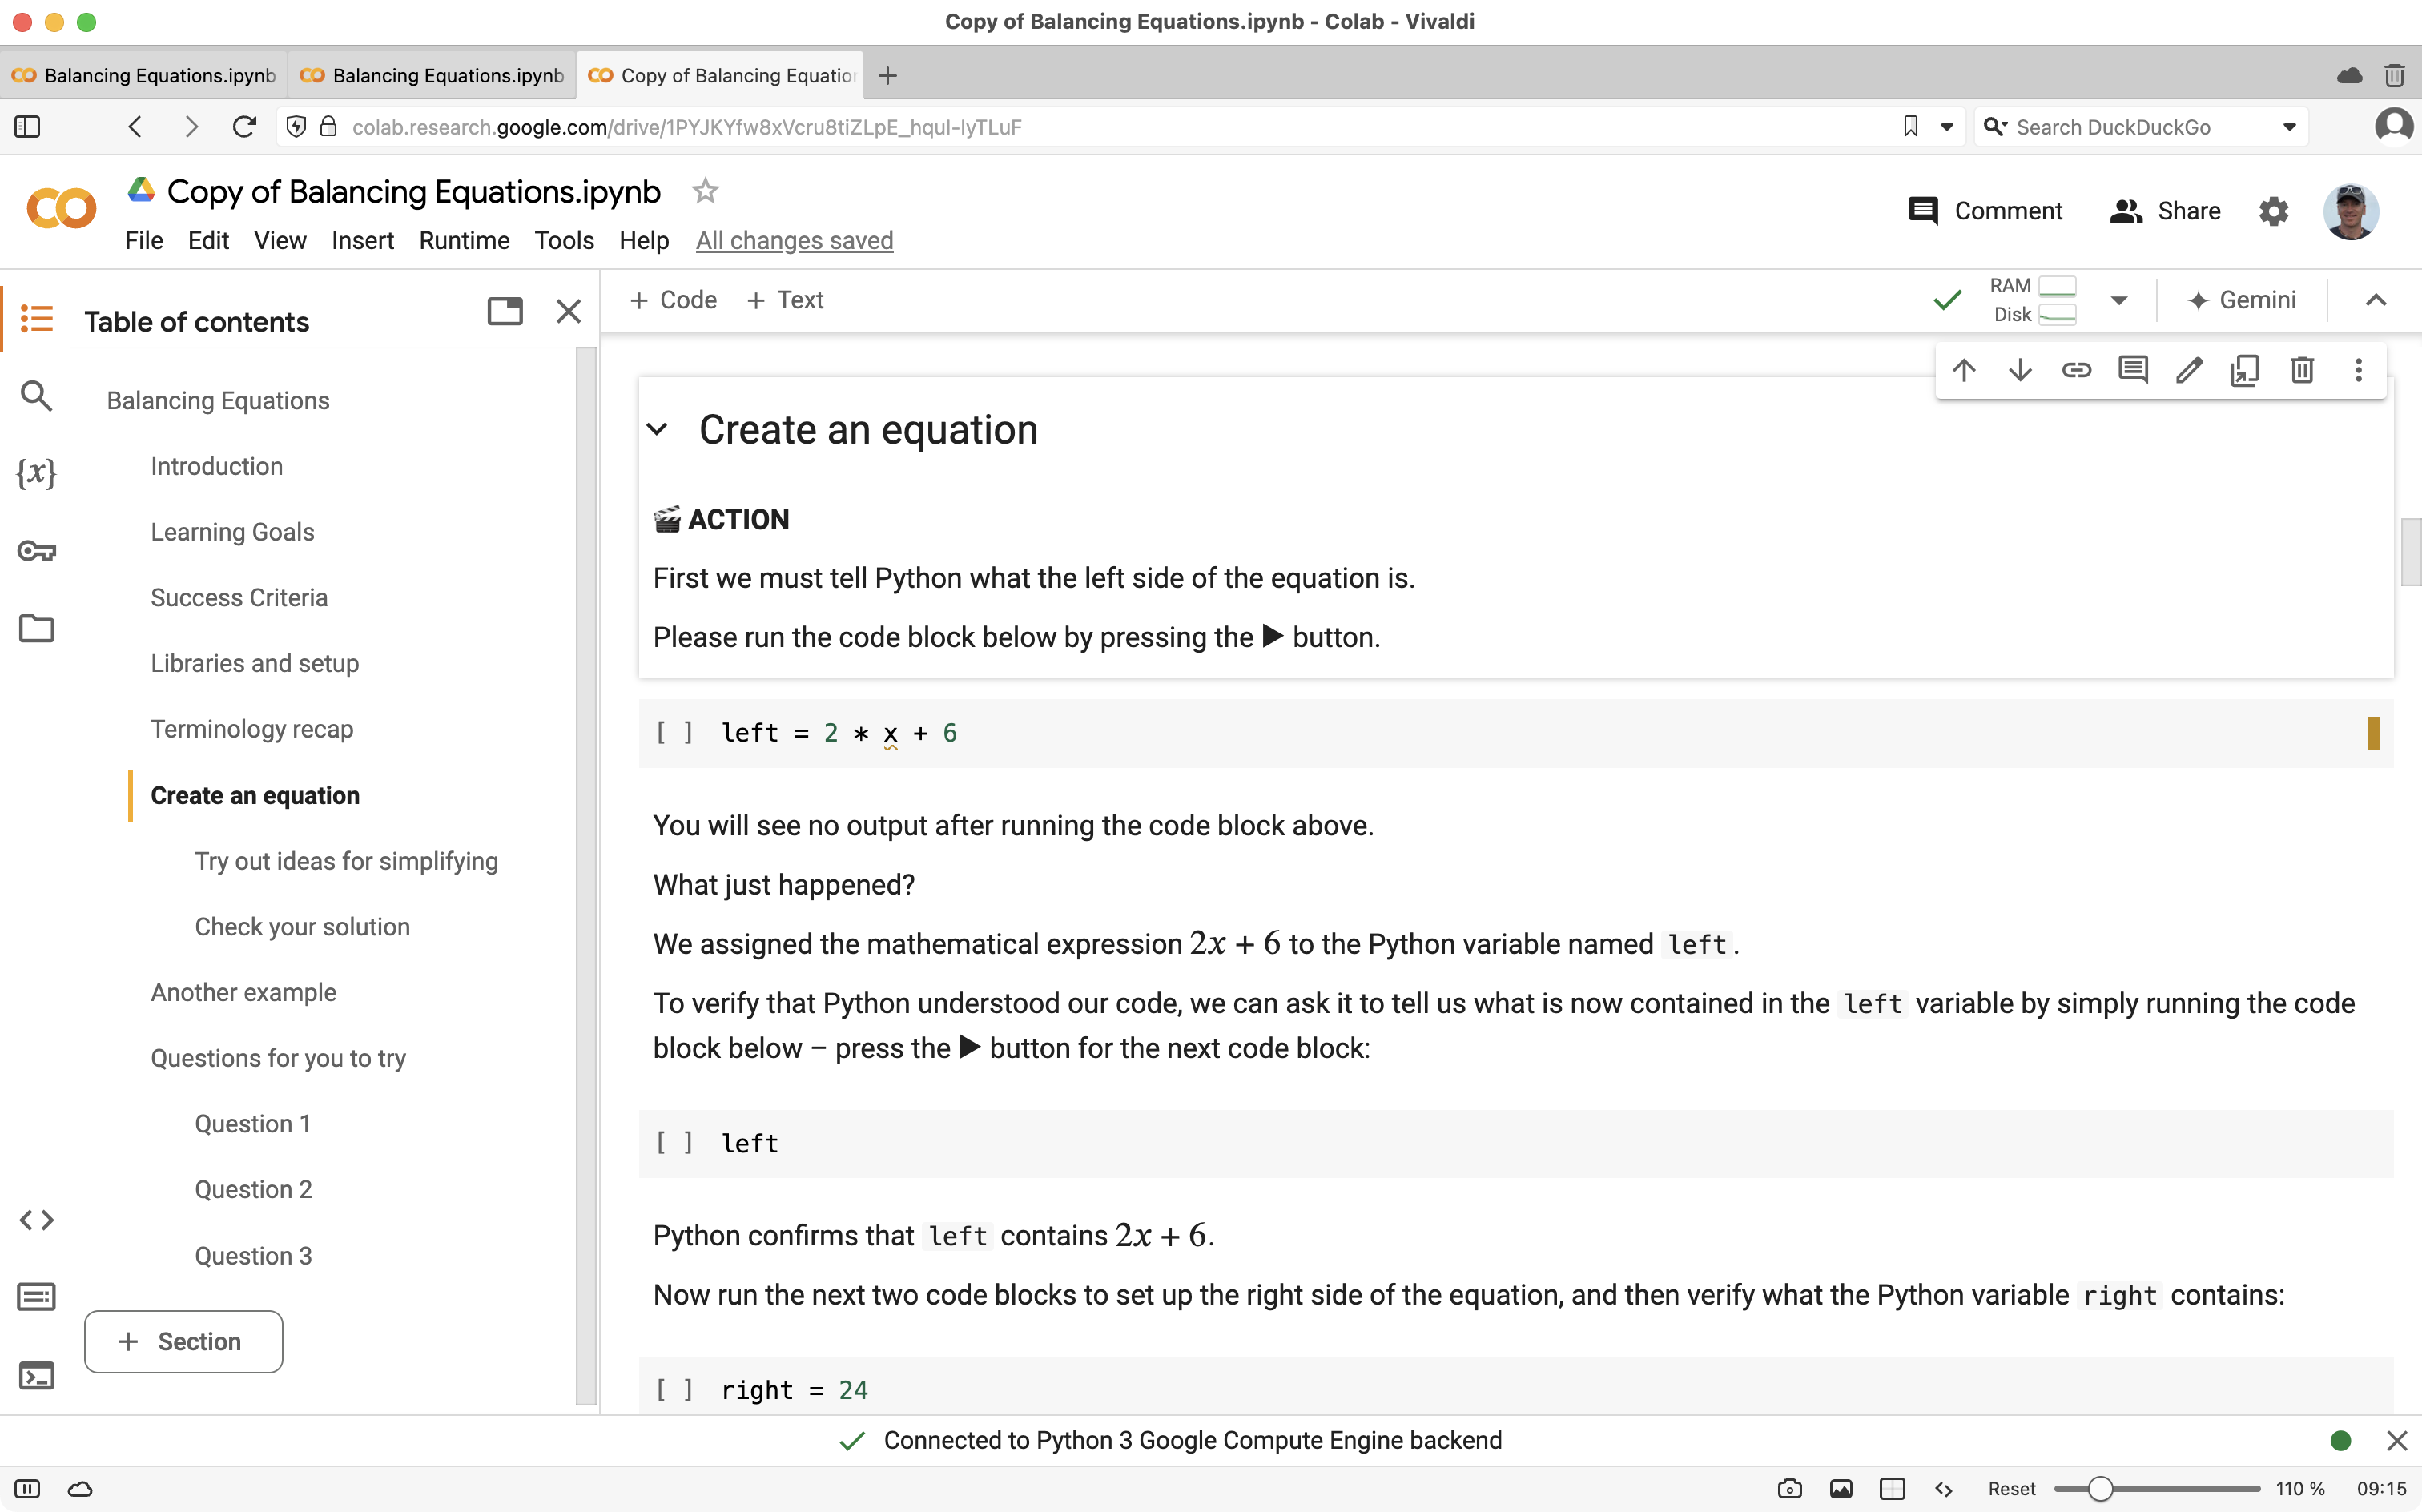
Use the Table of Contents to move around within the document without a lot of scrolling:
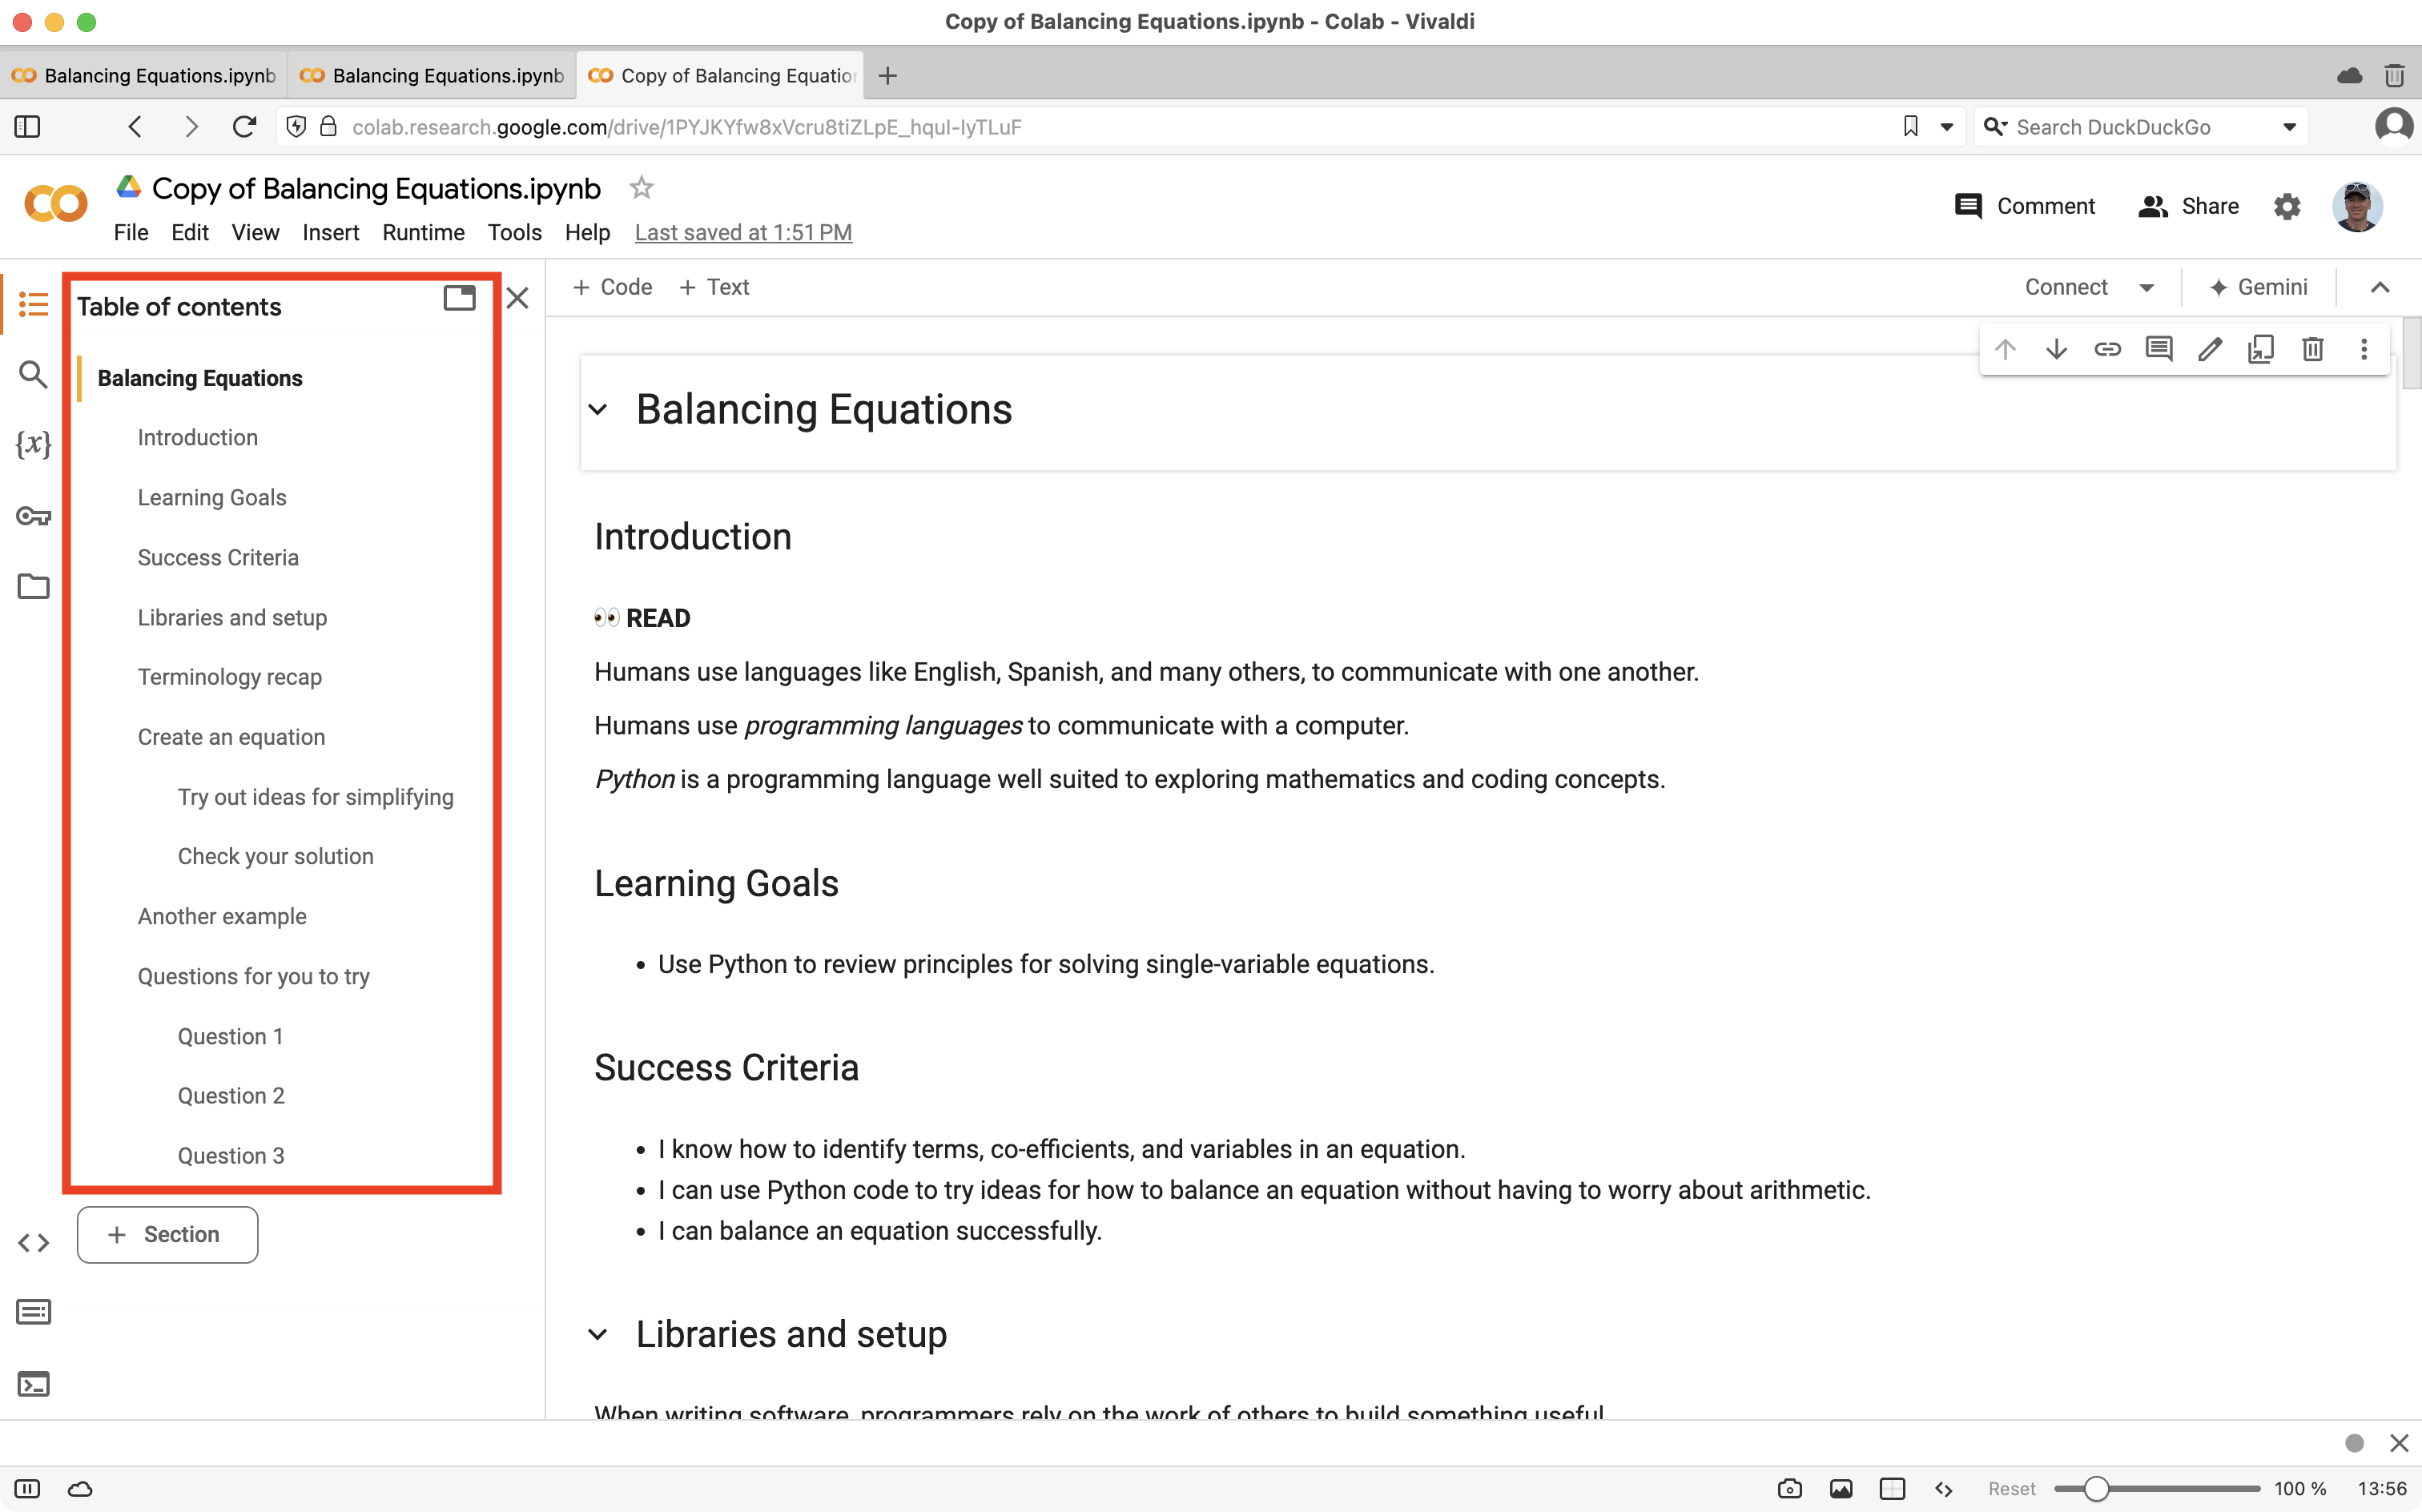
The vertical yellow marker identifies what section of the document you have most recently navigated to.
This is a notebook designed for first use with students and coding in Grade 9 mathematics. By approaching a topic every student should have some familiarity with – solving equations – they can, at first, focus on the code they are writing:
Beginning with the Questions for you to try section, students are invited to write their own code, and balance equations independently:

Jupyter notebooks are a combination of text blocks and code blocks.
Code blocks must be run in order, from the top of a notebook to the bottom.
Jupyter notebooks, like R Studio documents, were designed to support reproducible data science.
As an aside regarding reproducible data science, here is an exemplar I made for the culminating project when I last taught MDM4U.
This heritage of support for reproducible data science in Jupyter notebooks allows students to make their process and thinking visible.
So... please take the time now to try out this first notebook.
If you'd prefer a more guided tour, here are a few short videos:
Additionally, please feel free to try out any of the notebooks included in the next section.
I will circulate to answer individual questions as they arise.
Additional Notebooks
Here are some other notebooks that you can open, duplicate, and try out now:
- Introduction to Data Analysis
- Single-Variable Data Analysis
- Relations and Two-Variable Data Analysis
- Exploring Geometry, Iteration, Variables, and Functions 🚨
- Exploring Relations - Examples ✏️
🚨 This document is quite long, representing far more content than would be approachable in a single class for most if not all students. Later in this session, we will learn how to "slice and dice" a Jupyter notebook in Google Colab to easily create a revised version with less content.
✏️ This document is not designed with a student audience in mind, but exists more as a set of examples for teachers to peruse and adapt as needed.
Here is a folder in Google Drive containing all of the notebooks, and their related resources.
Mid-session Questions
The following questions came up during this session. As best as was possible, the questions and answers have been documented below. My thanks to Rob Gleeson for taking notes while questions were fielded during the session.
-
When we ran the code inside various code cells, starting in the middle of a Jupyter notebook and then running code within cells above and below the one we started with, we got inconsistent results. Why did that happen?
- Code blocks must be run once each, in sequence, much like pages in a novel must be read in order so that the narrative makes sense.
- When code blocks are run out of the order they are presented in, output will change.
- Be sure to run code blocks in order from top to bottom within a notebook.
- Students new to coding will encounter this issue too.
- When that occurs, it can be a good opportunity to discuss sequence as a key programming concept; this issue is connected to expectations within section C2 of the MTH1W curriculum.
- If you need to clear the output of code blocks to reset a notebook, choose the menu sequence: Runtime > Disconnect and delete runtime and then Edit > Clear all outputs.
-
I noticed that algebraic expressions are always simplified within the Balancing Equations notebook. Is there a way to turn that off?
- There are some limited ways to control whether expressions that involve a certain variable are simplified, but no straightforward way that I have found to disable simplification entirely.
- My current thoughts are to use the automatic simplification of expressions by the SymPy library as an opportunity to discuss the concept of equivalent algebraic expressions with students. This is a part of the Ontario curriculum for MTH1W (expectation C1.3).
Authoring Notebooks
The easiest way to get started with authoring a notebook is to make a copy of an existing notebook, and then modify it to suit your needs.
Here are a series of short videos explaining important concepts for authoring Jupyter notebooks:
- Organizing a Notebook Using Headings
- Quickly Removing Portions of a Notebook
- Moving Cells From One Notebook to Another
- Adding Images to a Notebook
- Adding Text and Code Cells and Staying Organized
Templates for Students
Referring to the PDF version of the curriculum for MTH1W, the term coding shows up 67 times. I will venture that the spirit of the new curriculum is to see coding become a another tool regularly used by students – not something that is "done" after one or two classes.
To that end, we can provide students with templates for common tasks, or develop such templates collaboratively with our classes – after organically looking at how coding helps us to explore a given mathematical concept.
After students become comfortable with using a Jupyter notebook in the Colab environment, they can reach for these templates as needed:
What other templates might be useful for us, as teachers, to create for our students to use?
Publishing Spreadsheets as a Data Source
When teaching students how to analyze one or two-variable data, it's ideal to make it as easy as possible for them to access that data.
One option is to publish the spreadsheet as a CSV file via the user interface within a Google Sheet.
Another option is to edit the spreadsheet URL directly.
Given a link to a spreadsheet, such as:
https://docs.google.com/spreadsheets/d/1E-iostgx4RiEajIu5DhVs-n6hXdQ1uPcLcWPFQc437s/edit?gid=0#gid=0
... replace:
/edit?gid=0#gid=0
... with:
/export?format=csv
... like this:
https://docs.google.com/spreadsheets/d/1E-iostgx4RiEajIu5DhVs-n6hXdQ1uPcLcWPFQc437s/export?format=csv
You can then load the contents of the spreadsheet into a dataframe in a Jupyter notebook, like this:
# Load the data from the spreadsheet
collected_data = pd.read_csv("https://docs.google.com/spreadsheets/d/1E-iostgx4RiEajIu5DhVs-n6hXdQ1uPcLcWPFQc437s/export?format=csv").dropna()
Try Authoring Your Own Notebook
Take one of the notebooks shared earlier, and try revising or extending it, or author your own from scratch.
I will circulate to help as needed.
Optionally, submit your completed notebook to this Google form. By doing so, you are giving permission for your notebook to be shared within this article and published under the license described earlier.
Publishing Workflow
If you are curious about how the materials for this session were published, that was the topic of the session I ran last year, in August 2023, at the CEMC Summer Conference for Computer Studies Educators.
Author Background
Before teaching, I worked in the software industry for four years as a developer and technical support specialist. After a year at OISE/UT, in 2006 I started teaching with a fall semester LTO at the now-closed Barton Secondary School in Hamilton, Ontario. To conclude that school year I completed a spring semester LTO at Erindale Secondary School in Mississauga.
In 2007 I was fortunate to earn a permanent position at North Park Secondary School in Brampton where the existence of the International Business and Technology Program allowed me to combine my background in technology with my love of teaching and learning. Across four years at North Park, I served for two years as the department head of the IBT program, taught a variety of mathematics classes, and grew computer science enrolment from 1 to 7 sections.
By 2011, my young family and I had moved to downtown Toronto. A desire to live in an urban environment without owning a car, some changes to hiring rules in public school boards, and the need to support my family without the uncertainty of work as a supply teacher, led me to pursue employment within independent schools. For three years, I worked at the Bishop Strachan School in a variety of roles as a teacher of mathematics and computer science and as a technology integrator. A move to Royal St. George's College in 2014 allowed for a new challenge – working within an all-boys environment after having taught at an all-girls school.
Toronto is a terrific city in many ways. By 2017, however, my family and I were ready for a change and, frankly, for a more affordable place to live. I am grateful to be a part of the community of teachers and learners at Lakefield College School, where I currently teach computer science to students across the gender spectrum and work with colleagues, where I can, to help advance pedagogy and the appropriate use of technology.